Welcome back to Stella Blue Friday! It has been awhile since I’ve updated about this quilt. Dianne and I both put it on hold for the summer, but we both seemed to read each other’s minds and have pulled it out again to work on.
I have been working on the small stars, there are 49 of them and I diligently sewed away last week until they were all done. It helped that last Friday evening my two friends Colleen and Victory came over and sewed with me. I love sewing night! Colleen stayed until midnight, it was great.
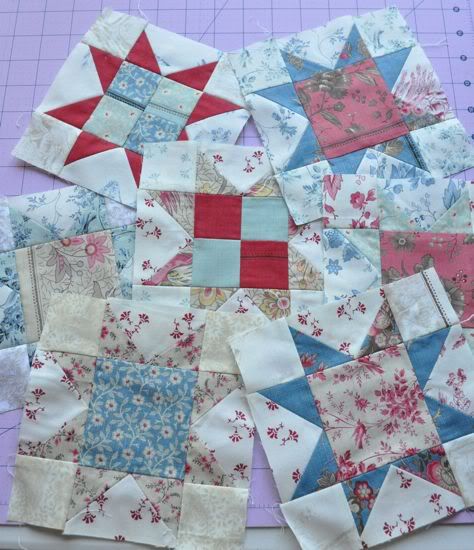
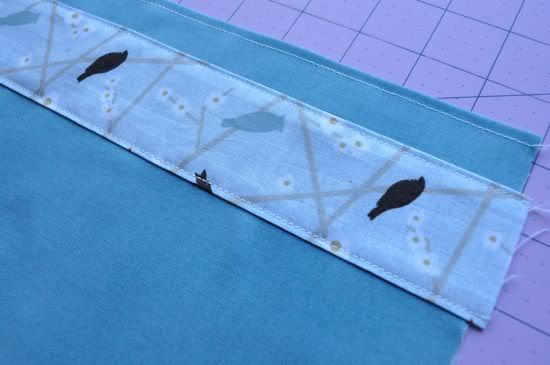
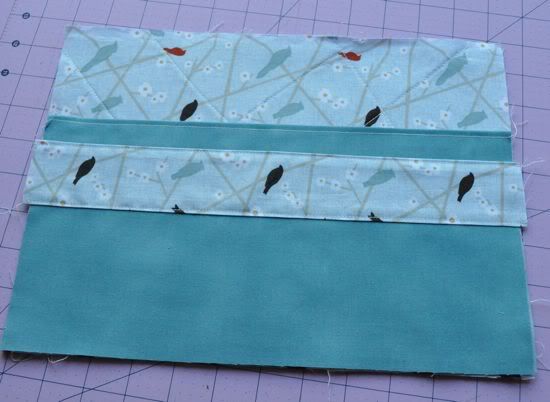
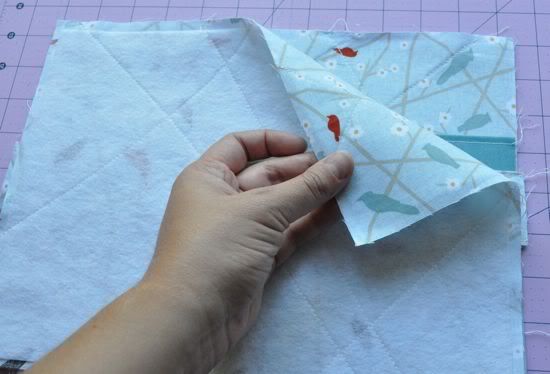
After the stars were done, I assembled a few of the smaller blocks.
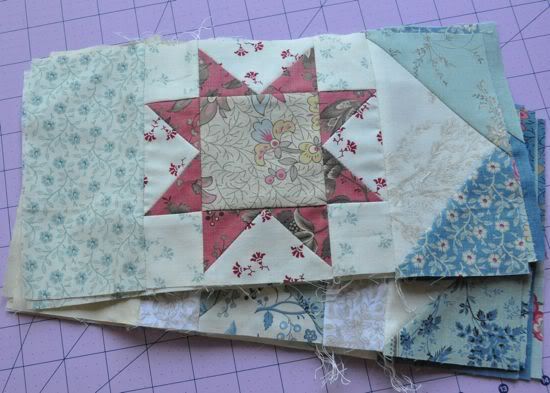
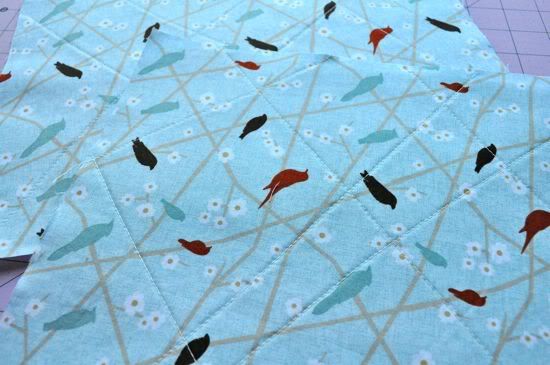
Now, I have a lot of big blocks to make, this quilt is going to be so awesome! The fabric I am using is called Rural Jardin by French General. I got a fat quarter bundle of this fabric (and still have tons left over). Be sure and visit Dianne's blog to check her progress too!
I'll leave you with a photo I took of Mount St. Helens when we went boating with our neighbors. Isn't it great? I love living here.